
Today, I’m sharing 10 accessible DIY projects that will help you on your path towards sustainable living while saving money and connecting with a like-minded community of eco-conscious individuals. These hands-on projects range from beginner-friendly to more advanced, ensuring there’s something for everyone, regardless of your DIY experience level. Each project uses readily available materials (many of which you might already have at home) and provides immediate benefits to both your lifestyle and the planet.
By incorporating sustainable living into your daily routine, you contribute to a healthier planet. Sustainable living encourages practices that reduce waste, conserve energy, and promote eco-friendly habits.
1. Create Your Own Compost System
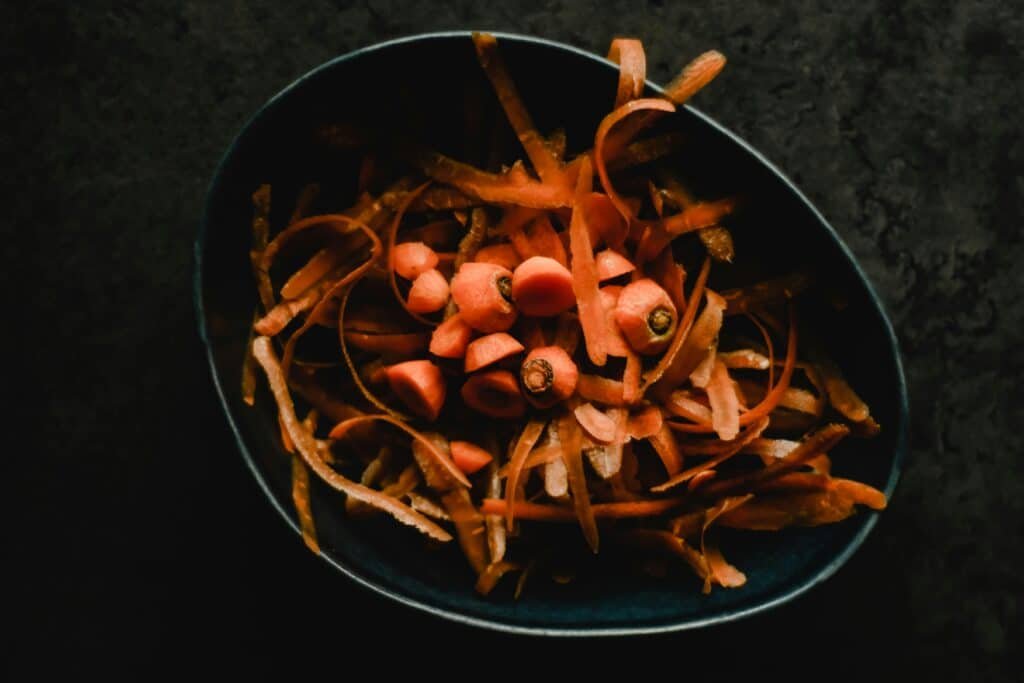
Composting is a fundamental aspect of sustainable living, turning food scraps into valuable resources for gardening and reducing landfill waste.
One person’s food scraps are another person’s garden gold! Composting diverts waste from landfills where it would produce harmful methane gas, and instead transforms it into nutrient-rich soil for your plants.
Materials needed:
- Container with lid (can be a simple plastic bin with holes drilled for ventilation)
- Dry carbon materials (leaves, paper, cardboard)
- Food scraps (vegetable peels, coffee grounds, eggshells)
- Optional: red wiggler worms for vermicomposting
How to create:
- Choose a location for your compost bin – outdoors in a shaded area or even under your sink for a small indoor system.
- Start with a layer of dry, brown materials (leaves, shredded paper).
- Add your green materials (food scraps) and cover with more browns.
- Keep your compost moist but not soggy (like a wrung-out sponge).
- Turn your compost weekly to aerate it and speed decomposition.
If you’re in an apartment, consider a compact vermicomposting system where red wiggler worms do most of the work for you! They’ll process your food scraps quickly and produce incredibly rich worm castings that your houseplants will love.
2. Build a Rainwater Harvesting System
Why pay for water when it falls from the sky for free? Harvesting rainwater not only reduces your water bill but also lessens demand on municipal systems and provides chemical-free water for your plants.
Materials needed:
- Food-grade barrel or large container
- Rain gutter diverter kit
- Mesh screen (to filter debris)
- Spigot kit
- Optional: soaker hose for garden irrigation
How to create:
- Position your barrel beneath a downspout on a raised, level platform.
- Install a diverter in your gutter to direct water into the barrel.
- Place mesh screening over the inlet to prevent debris and mosquitoes.
- Install a spigot near the bottom for easy access to the collected water.
- Consider adding an overflow valve that directs excess water away from your foundation.
A single inch of rain on a 1,000-square-foot roof can yield over 600 gallons of water! Even with a modest setup, you’ll collect significant amounts to use during dry periods, reducing your water consumption and utility bills.

3. Sew Reusable Fabric Produce Bags
Implementing a rainwater harvesting system is a vital step towards sustainable living, as it allows you to utilise natural resources efficiently.
Those flimsy plastic produce bags at the grocery store are used for an average of just 12 minutes before being discarded, where they’ll persist in the environment for centuries. Break the cycle by creating your own washable, reusable produce bags!
Materials needed:
- Lightweight, breathable fabric (old sheer curtains work perfectly)
- Thread
- Drawstring or ribbon
- Sewing machine or needle for hand-sewing
How to create:
- Cut fabric into desired sizes (small for herbs, medium for apples, large for leafy greens).
- Fold and sew the edges, leaving an opening at the top.
- Create a channel at the top by folding over the edge and sewing a straight line.
- Thread your drawstring or ribbon through the channel.
- Wash before first use at the grocery store.
These bags allow cashiers to see what’s inside while eliminating single-use plastic. They’re lightweight (adding negligible cost to your produce), breathable (preventing condensation that can speed spoilage), and can be washed hundreds of times, making them a truly sustainable alternative.
4. Craft Your Own Natural Cleaning Products
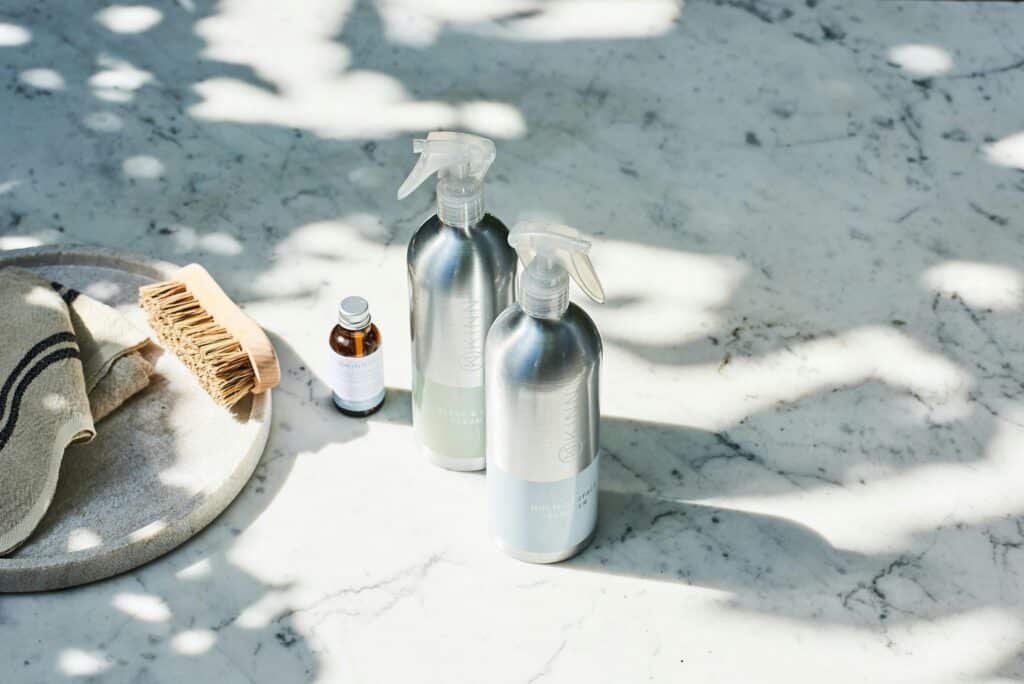
Most commercial cleaning products contain harsh chemicals that can harm both your health and aquatic ecosystems when they go down the drain. Making your own cleaners is simple, economical, and surprisingly effective!
Materials needed:
- White vinegar
- Baking soda
- Essential oils (optional, for scent)
- Castile soap
- Spray bottles
- Glass jars for storage
How to create an all-purpose cleaner:
- Mix equal parts water and white vinegar in a spray bottle.
- Add 10-15 drops of your favorite essential oil (citrus oils have additional cleaning power).
- Shake well before each use.
For tougher jobs: Create a paste of baking soda and water, apply to the surface, and spray with your vinegar solution for a powerful, bubbling action that cuts through grime.
These natural cleaners work wonderfully on most surfaces and cost a fraction of commercial products. They’re also safer for households with children, pets, and those with chemical sensitivities.
5. Build a Simple Solar Oven
Harness the power of the sun to cook meals without electricity! A solar oven allows you to prepare food using only renewable energy, perfect for summer cooking when you don’t want to heat up your home.
Reusable bags are an essential part of sustainable living, helping to drastically reduce plastic waste in our environment.
Materials needed:
- Cardboard box (medium to large size)
- Aluminum foil
- Black construction paper
- Clear plastic (like oven roasting bags)
- Newspaper or straw for insulation
- Glass or metal baking dish (dark-colored works best)
How to create:
- Line the inside of the box with aluminum foil, shiny side out.
- Place black construction paper on the bottom to absorb heat.
- Create a hinged lid with a plastic window that allows sunlight in while trapping heat.
- Add insulation between a smaller inner box and larger outer box.
- For better performance, create a reflector panel that directs more sunlight into the oven.
Solar ovens work best for slow-cooking dishes like beans, stews, and rice. On a sunny day, they can reach temperatures of 200-300°F (93-149°C) – perfect for energy-free cooking and preserving the nutrients in your food.
6. Create a Vertical Pallet Garden
Limited space is no excuse for not growing your own food! A vertical pallet garden allows you to grow herbs, lettuce, strawberries, and other small plants in minimal space – even on a balcony or small patio.
Materials needed:
- Heat-treated wooden pallet (look for the “HT” stamp, avoiding chemically treated pallets)
- Landscape fabric
- Staple gun and staples
- Potting soil
- Plant starts or seeds
- Optional: wood stain or paint (non-toxic)
How to create:
- Sand rough edges of the pallet to prevent splinters.
- Optionally, paint or stain the pallet with non-toxic finishes.
- Staple landscape fabric to the back and bottom of the pallet to create planting pockets.
- Stand the pallet upright and fill the pockets with potting soil.
- Plant your chosen herbs or vegetables in each pocket.
- Water thoroughly and regularly until established.
Vertical gardens maximize growing space, improve air quality, and add beautiful greenery to otherwise unused vertical areas. They’re particularly effective for growing herbs and salad greens, helping you reduce food miles while enjoying the freshest possible produce.
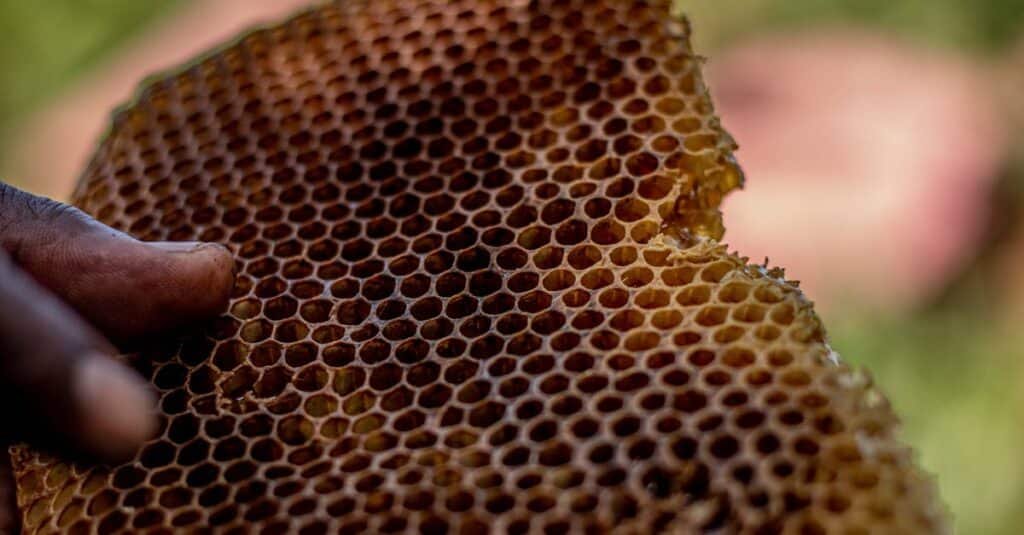
7. Make Beeswax Food Wraps
Plastic wrap is a single-use kitchen staple that’s easily replaced with reusable beeswax wraps. These natural alternatives keep food fresh while eliminating plastic waste.
Materials needed:
Creating your own cleaning products is not only cost-effective but also a significant move towards sustainable living, reducing harmful chemicals in your home.
- 100% cotton fabric cut into various sizes
- Beeswax pellets or grated beeswax
- Jojoba oil and tree resin (optional, for better cling)
- Parchment paper
- Iron or oven
- Paintbrush (if using oven method)
How to create (iron method):
- Place fabric on parchment paper.
- Sprinkle beeswax pellets evenly over the fabric.
- Cover with another sheet of parchment paper.
- Iron on low heat until the wax melts and saturates the fabric.
- Hang to cool and harden.
Oven method:
- Preheat oven to 185°F (85°C).
- Place fabric on a parchment-lined baking sheet.
- Sprinkle wax evenly and place in oven until melted (about 5 minutes).
- Remove and use a paintbrush to ensure even distribution before it cools.
Beeswax wraps last up to a year with proper care (hand wash in cool water with mild soap, air dry). They conform to containers using the warmth of your hands and work beautifully for covering bowls, wrapping cheese, sandwiches, and produce.
8. Construct a DIY Worm Bin
Vermicomposting is perfect for apartment dwellers or those with limited outdoor space. Red wiggler worms efficiently transform kitchen scraps into premium compost while requiring minimal maintenance.
Materials needed:
- Two plastic storage bins (one with a lid)
- Drill (for air and drainage holes)
- Shredded newspaper or cardboard
- Red wiggler worms
- Spray bottle with water
- Food scraps
How to create:
- Drill small drainage holes in the bottom of one bin and air holes in the sides and lid.
- Place this bin inside the second bin (which will catch liquid “compost tea”).
- Fill the top bin with moistened, shredded newspaper or cardboard.
- Add your red wiggler worms (available online or at fishing supply stores).
- Bury a small amount of food scraps beneath the bedding.
- Cover with the lid and place in a cool, dark location.
Feed your worms vegetable scraps, coffee grounds, and eggshells. Avoid meat, dairy, oils, and citrus. When managed properly, a worm bin is odorless and produces rich castings that make the perfect natural fertilizer for houseplants and gardens.
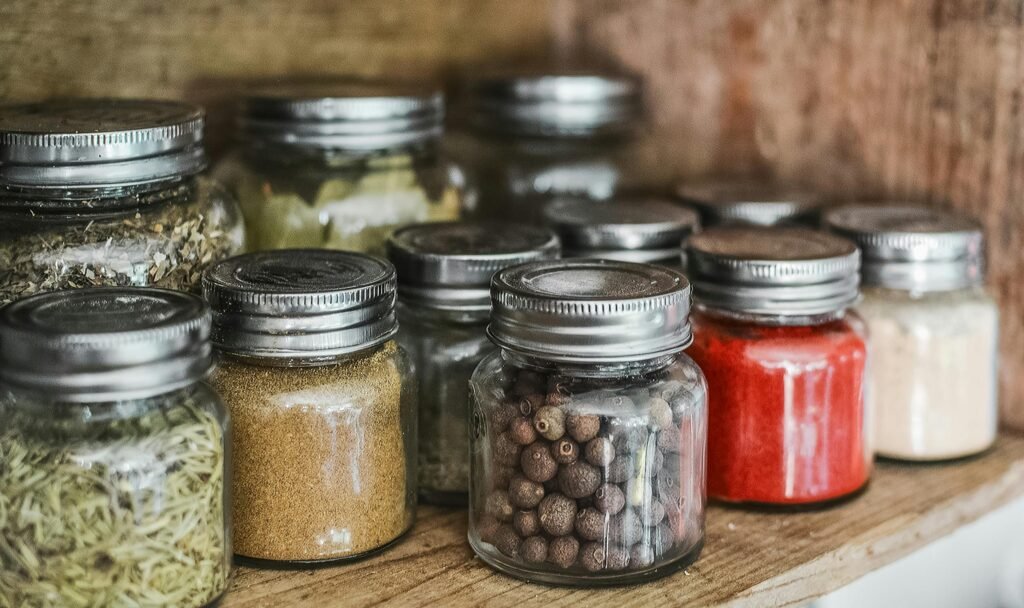
9. Upcycle Glass Jars Into Storage Containers
Before recycling those pasta sauce and jam jars, consider giving them new life as versatile storage containers! This simple upcycling project reduces waste and provides an organized, plastic-free storage solution.
Materials needed:
A solar oven is a brilliant example of sustainable living, allowing you to harness renewable energy for cooking.
- Clean glass jars with lids
- Chalkboard or acrylic paint (optional)
- Paint pens or labels
- Sandpaper (if removing label adhesive)
- Optional decorative elements (twine, fabric scraps)
How to create:
- Remove labels and adhesive (soak in warm, soapy water or use oil and baking soda).
- Thoroughly clean and dry the jars.
- Optionally paint the lids with chalkboard paint for erasable labeling.
- Label jars according to contents using paint pens or adhesive labels.
- Add decorative elements if desired to match your decor.
Use your upcycled jars to store bulk pantry items, homemade cleaning products, craft supplies, or even as drinking glasses. They’re particularly useful for buying from bulk bins at grocery stores – simply bring your clean jars, note the tare weight, and fill directly with bulk goods to eliminate packaging waste entirely.
10. Design a Household Greywater System
Greywater – the relatively clean water from showers, sinks, and washing machines – can be safely reused for irrigation rather than sending it down the drain. A simple diversion system reduces water consumption and utility bills.
Materials needed:
- PVC pipes and connectors
- Diverter valve
- Mulch basin materials (rocks, wood chips, plants)
- Bucket or barrel (for simple systems)
- Optional: branched drain system for larger applications
How to create a simple system:
- Identify a greywater source, such as your washing machine discharge hose.
- Install a diverter valve that allows you to switch between the sewer and your garden.
- Create a mulch basin in your yard where the water will be distributed.
- Ensure the system complies with local regulations (check before installation).
- Use phosphate-free, biodegradable soaps and detergents.
Even a basic system can save thousands of gallons annually. A typical household can reclaim up to 60% of its water through greywater systems, directing it to landscape plants rather than treating it at energy-intensive wastewater facilities.
Embracing sustainable living means being part of a vital movement towards a healthier, more sustainable future.
These sustainable living DIY projects do more than just reduce your environmental impact – they connect you to a growing community of people who are reclaiming lost skills and finding joy in self-sufficiency. Start with one project that resonates with you, master it, and then move on to the next. Before long, you’ll find that these sustainable practices have become second nature.
Remember that perfect is the enemy of good when it comes to sustainable living. Each small step you take has a ripple effect, inspiring others and collectively making a significant impact. Which project will you tackle first? I’d love to hear about your sustainable DIY adventures in the comments below!