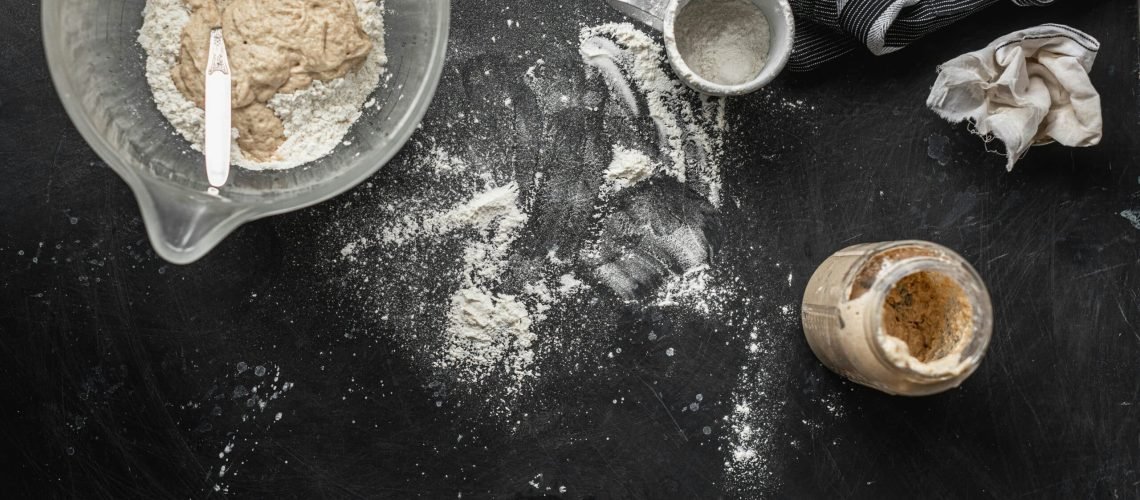
Making sourdough bread from scratch is easier than you might think, and the results are so worth it! With just a few ingredients and a little patience, you can create a delicious, tangy loaf with a perfect chewy texture. Follow this step-by-step guide to bake your own sourdough bread at home!
🍞 What You’ll Need
🛒 Ingredients:
- Active Sourdough Starter: 1 cup (240g) – You can learn how to make your own here or get some from a friend!
- Warm Water: 1 1/2 cups (360g) – About 80°F (27°C)
- All-Purpose Flour: 3 cups (360g) – Or bread flour for extra chewiness
- Salt: 2 teaspoons
- Honey or Sugar: 1 tablespoon (optional, for a slightly sweeter loaf)
🔧 Equipment:
- Large mixing bowl
- Wooden spoon or dough scraper
- Dutch oven or baking stone
- Proofing basket or bowl (optional)
- Parchment paper
- Clean kitchen towel or plastic wrap
- Sharp knife or razor blade (for scoring the dough)
🏡 Step-by-Step Guide to Making Sourdough Bread
🕑 Step 1: Mix the Dough
- Combine Starter and Water: In a large bowl, combine your sourdough starter, warm water, and honey (if using). Stir until well-mixed.
- Add Flour: Gradually add flour, one cup at a time, stirring until everything is combined into a rough dough.
- Add Salt: Sprinkle the salt over the dough and stir again until fully incorporated.
💪 Step 2: Knead the Dough
- Kneading Technique: Turn the dough out onto a floured surface and knead for about 8-10 minutes. Push the dough down with the heel of your hand, fold it over, and repeat until it becomes smooth and elastic.
- Adjust Flour: If the dough feels too sticky, add a little extra flour—but be careful not to add too much!
Tip: You can also use the “stretch and fold” method for a gentler approach.
⏳ Step 3: Bulk Fermentation (First Rise)
- Cover Dough: Place your dough back in the bowl and cover it with a clean kitchen towel or plastic wrap.
- First Rise: Let it rise at room temperature for about 4-6 hours, or until it has doubled in size. This is where the sourdough fermentation happens!
🔄 Step 4: Shape the Dough
- Punch Down: Once the dough has risen, gently punch it down to release air bubbles.
- Shape the Loaf: Shape the dough into a round or oval loaf by folding the edges inward and tucking them underneath.
- Proofing: Place the shaped dough into a proofing basket or a bowl lined with parchment paper.
- Second Rise: Cover the dough again and let it rise for 1-2 more hours, until it has nearly doubled in size.
🔥 Step 5: Preheat the Oven
- Preheat: About 30 minutes before baking, preheat your oven to 450°F (232°C). If using a Dutch oven, place it inside the oven to heat up as well.
🔪 Step 6: Score and Bake
- Prepare Dough: Once the dough is ready, carefully turn it out onto a piece of parchment paper.
- Score the Dough: Use a sharp knife or razor blade to score the top of the dough (this allows it to expand during baking).
- Bake: Transfer the dough (with parchment) into the preheated Dutch oven or onto a baking stone.
- Steam: Cover the Dutch oven with its lid, or create steam by placing a pan of water in the oven.
- Baking Time: Bake for 20 minutes with the lid on (or covered with foil), then remove the lid and bake for another 25-30 minutes, or until the bread is golden brown.
❄️ Step 7: Cool & Slice
- Cooling: Remove the bread from the oven and let it cool completely on a wire rack. Cooling is essential for the bread’s flavor and texture!
- Slice: Once cooled, slice and enjoy your homemade sourdough bread!
💡 Tip: Let the bread cool fully before cutting to get the best texture. The fresh, warm bread is delicious, but it’s even better once it’s properly cooled!
🍞 Optional: Customize Your Sourdough
- Herbed Sourdough: Add your favorite herbs or garlic to the dough during kneading.
- Crustier Bread: For a thicker, crunchier crust, bake at a higher temperature or leave the bread in the oven a little longer.
🎉 Enjoy Your Homemade Sourdough!
Baking sourdough bread from scratch takes some practice, but the results are worth every step. You’ll have fresh, tangy bread right from your own kitchen—and it’s a fun process too! Enjoy experimenting with your starter and creating your perfect loaf. Happy baking!

